
Vanilla Bean Sea Salt Coconut Cream
With 4 simple, real food ingredients, Vanilla Bean Sea Salt Coconut Cream is the perfect dairy-free dessert topping or coffee creamer alternative. Delicious, easy to make, and free of all the junk, you’ll want to keep a batch in your fridge at all times!

So. Coconut whipped cream. It’s a thing. An amazing thing. It’s not necessarily a new thing, as people in paleo and vegan communities have been BFFs with whipped coconut cream for awhile. But for the rest of us? It’s a bit of a revelation.
Coconut whipped cream is made simply by scooping the cream off the top of a cold can of full-fat coconut milk and whipping it up with a little natural sweetener (I like to use maple syrup) to create an amazing whipped cream or coffee creamer alternative. Plain coconut whipped cream is delicious on its own, but adding flavor really takes it over the top.
And, since my honey sesame energy bites have been so popular, the salty-sweet flavor combo seemed to be the natural choice.
As soon as I tried this version I was absolutely hooked, and I can’t be without a jar in my fridge. I keep it on hand, too, as a whipped cream alternative for Andrew, my reluctantly dairy-free husband. It’s perfect if you’re a coffee creamer lover looking to switch it up because you’re going dairy-free or just because you want to avoid the junk ingredients in the store-bought version.
The process of making Vanilla Bean Sea Salt Coconut Cream is quite simple, and easy enough to whip up on the weekend so you can have it on hand during the week. Be sure to read the tips and troubleshooting section below to make sure your final product turns out perfectly. I hope you love this one as much as we do. Now, let’s make some coconut cream!


TIPS & TROUBLESHOOTING
1 | Buy full-fat coconut milk in a can or box (low-fat or light will not work).
2 | Buy organic coconut milk. I’ve tried making coconut whipped cream with many varieties and brands and have found organic works best, particularly this brand and this one.
3 | Shake the can before you buy it. The can should feel like there is a mass of thick cream inside. If it shakes easily and seems like just liquid, put it back and try other cans until you find a better option. The cans that feel like just liquid often don’t separate into cream and therefore won’t whip.
4 | Refrigerate the can overnight for at least 8 hours. I’ve tried to cheat this step before and the cream never whipped properly. If you make coconut whipped cream often just leave a few cans in the back of the fridge. Then it will always be there when you need it.
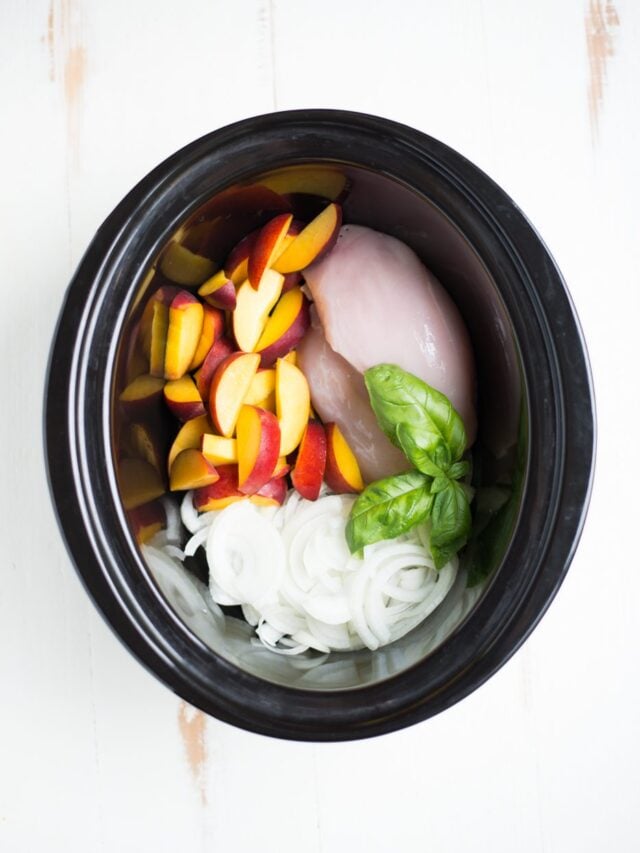
5 | When you open the refrigerated can there should be a thick layer of cream on top (see photo, above). Scoop the cream out into a bowl, and then pour the remaining liquid into a jar for another use (I like to use the liquid in smoothies).
6 | Serve the cream on or in anything you like. A dollop in coffee or chi tea makes an insanely good way to start the morning. It’s super versatile, so use it wherever you would use regular whipped cream or creamer.
7 | Store leftovers in a tightly sealed jar in the refrigerator for up to 5 days.

THIS RECIPE IS
Dairy-Free, Gluten-Free, Naturally Sweetened, Vegan, Vegetarian, Nut-Free, and Paleo Friendly


Vanilla Bean Sea Salt Coconut Cream
Ingredients
- 1 15- oz can full-fat coconut milk, chilled in the refrigerator 8-9 hours or overnight (organic if possible)
- 2 tablespoons pure maple syrup, use more if you want a sweeter cream
- Seeds from 1 vanilla bean or 1 teaspoon pure vanilla extract
- ¼ teaspoon sea salt, use less if you only want a hint of salt
Instructions
- Remove the coconut milk from the refrigerator, open it, and spoon the thick cream on the top into a large bowl. Leave the coconut water in the can and set aside for a different use.
- Using a high-speed or handheld mixer, beat the coconut cream until creamy and soft peaks begin to form. Slowly pour in the maple syrup, vanilla, and sea salt, beating again until just combined.
- Serve immediately or store in a tightly covered jar for up to 5 days.

This looks fantastic! I love that it uses real ingredients and I think the picture you show of using a little on some fruit is a great idea! A simple way to add a little something special to some ordinary strawberries. I’ll definitely be trying this.
Thank you so much, Brynn. I hope you enjoy!
Looks simply delicious 🙂 And I’m in love with your beautiful photography!
I hope you enjoy Erin. And thank you for the kind words about the photography! xxoo
I made this last night to put on top of strawberries. It’s delicious! Now I find myself looking for other reasons to eat it!
Megan, so happy you enjoyed! It’s definitely my sweet treat of choice these days. 🙂
I made this Friday night so I could have a treat with my mixed fruit bowl while everyone else ate ice cream. It was so good! I was so glad that I had leftovers so I could treat myself the last three days. Time to buy more coconut milk!
Yay, Kelly, love that you enjoyed this as an ice cream alternative with your fruit bowl. It’s one of my favorite things to have on hand for a sweet treat! 🙂
Where is a good place to get vanilla beans?
Savanna, you can find whole vanilla beans in the baking section of some grocery stores, or in the bulk/spice aisle of some grocery or natural food stores. If you can’t find them, you can also order them online: http://amzn.to/2d3NyOR. If you can’t find them or they are out of budget, vanilla extract is a great substitution.
This didn’t work out for me. The coconut cream was cold from the fridge and therefore chunky and didn’t whip. I used the organic brand you suggested. Wonder what went wrong?
Maggie, so sorry this one didn’t work out for you. Coconut cream can be a bit finicky for sure. Sometimes I find allowing the cream to sit for 5-10 minutes so soften slightly (but not so long it starts to liquify) can help with the whipping and to avoid those chunks.